Snowboard Stance and Binding Angles: How to Set Up (2026)
Your stance width and binding angles change how a board feels. Here's how to find your stance and good starting angles.
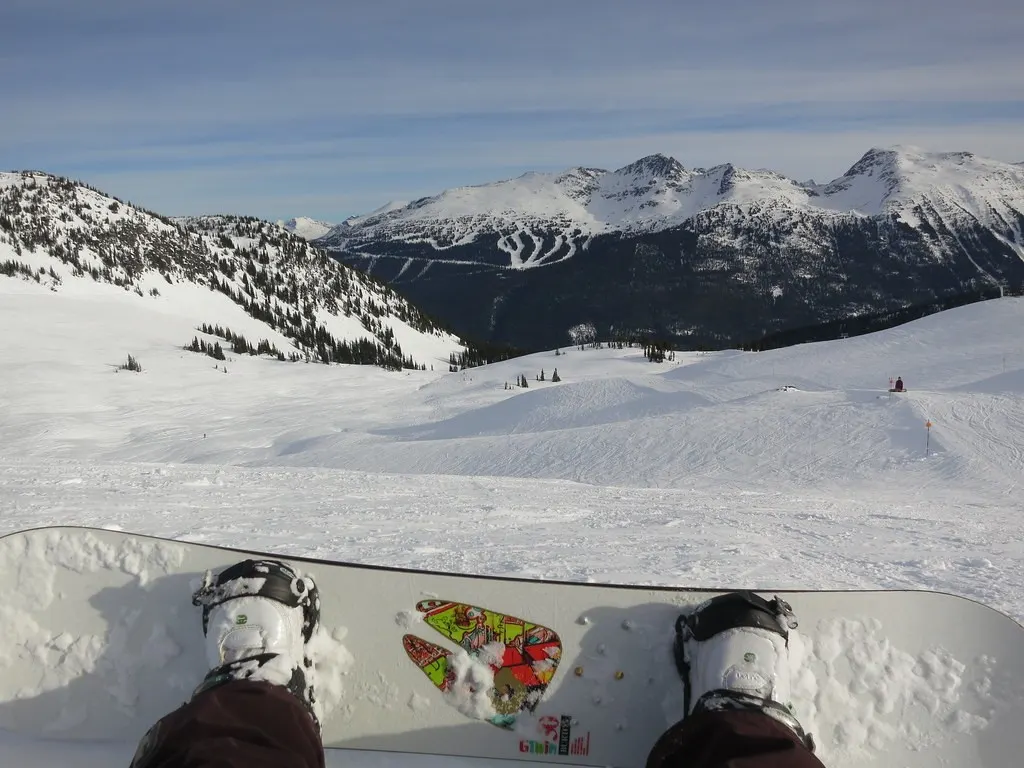
Step 1: Regular or Goofy?
Regular riders ride with their left foot forward; goofy riders ride with their right foot forward. Not sure? Imagine sliding on a slippery floor in socks, or have someone gently push you from behind; the foot you step forward with is usually your front foot. More in goofy vs regular.
Step 2: Stance Width
A good starting stance width is about shoulder width. Most boards have a reference stance marked on the inserts, designed for the board's size. Taller riders often go a bit wider; shorter riders a bit narrower. Wider stances feel stable and help with tricks; narrower stances feel more maneuverable.
Step 3: Stance Setback
Centering your stance suits park and riding switch. Setting it back toward the tail helps the nose float in powder.
Step 4: Binding Angles
Angles are measured from a line across the board (0°). Positive angles point toward the nose; negative angles point toward the tail. The first number is your front foot, the second your back foot.
Common Starting Angles
| Style | Front / Back | Why |
|---|---|---|
| Beginner, all-mountain | About +15 / -6 | Comfortable, slight duck |
| Freestyle and park | About +15 / -15 (duck) | Rides the same both ways |
| All-mountain | About +18 / -3 to 0 | Balanced for carving and switch |
| Carving and freeride | About +21 / +6 (forward) | Points you down the hill for powerful turns |
These are starting points. Small changes of 3° at a time help you find what feels best.
Duck vs Forward Stance
| Duck | Forward | |
|---|---|---|
| Angles | Front positive, back negative | Both positive |
| Best for | Park, switch riding | Carving, freeride |
| Feel | Balanced both directions | Natural for riding forward |
Step 5: Centering Your Boots
Adjust the bindings so your toes and heels overhang the edges evenly. Too much toe or heel overhang can cause drag in turns.
How to Adjust Your Bindings
- Loosen the screws on the binding disc.
- Rotate the binding to your chosen angle using the marks on the disc.
- Set your stance width using the board's inserts.
- Center your boots on the board.
- Tighten the screws firmly and check them before riding.
Bindings to Consider
Burton Mission Re:Flex
One of Burton's best-selling bindings, with a medium flex for riding the whole mountain. Re:Flex mounting fits most boards.
Check Price on AmazonBurton Step On Re:Flex
Click in without sitting down or ratcheting straps; requires Step On compatible boots.
Check Price on AmazonMore setup help: snowboard bindings, snowboard size chart and types of snowboards.
Frequently Asked Questions
How do I know if I'm regular or goofy?
Regular riders lead with their left foot; goofy riders lead with their right. Try sliding on socks or think about which foot you'd step forward with if pushed.
What binding angles should a beginner use?
A gentle duck stance like +15/-6 or +12/-12 is a common starting point. Adjust as you learn.
How wide should my snowboard stance be?
Roughly shoulder width, often using the board's reference stance. Taller riders go wider.
What is a duck stance?
Both feet angled outward, with the front binding positive and the back binding negative. It's popular for riding switch and park.
What is a forward stance?
Both bindings angled toward the nose, such as +18/+6. It suits carving and freeride.